Element create
Creating an Item
To create a new item:
-
Go to the project page and tap
 .
. -
On the page that opens, select the type of item you want to create (Item/Long Item/Weigher, etc.).
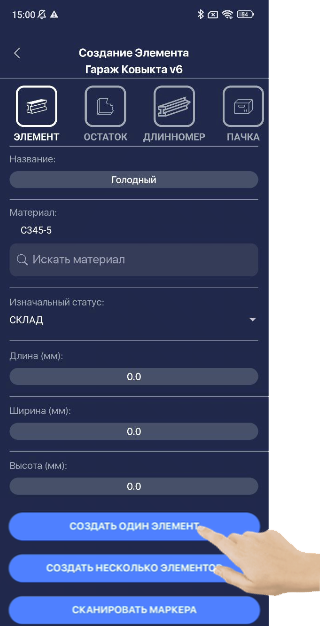
- Enter the name, select the material (see Adding Material) from the dropdown list (if a material library exists in the system), add the dimensions (default in mm), and tap “CREATE SINGLE ITEM.”
The newly created item will appear in the item list.
If the material library is loaded, other item parameters will be automatically adjusted.
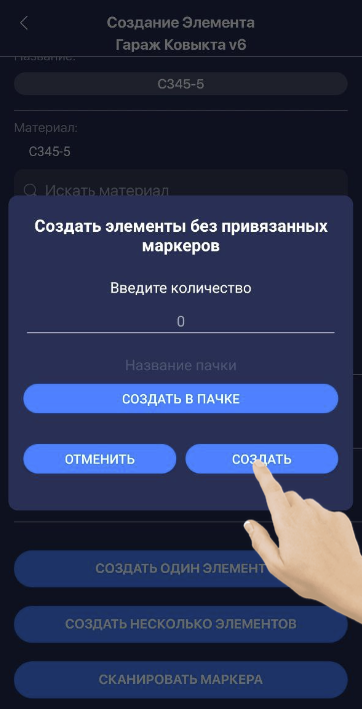
You can also create multiple items at once and add them to a bundle.
To do this, tap “Create Multiple Items,” enter the desired quantity, and tap “Create” or “Create in Bundle” (if you want to add them to a bundle).
Another way to create new standard items is via marker scanning.
The initial steps are the same, but at the end tap “Scan Markers,” scan the items, and then tap “Create Items.”

Adding Material
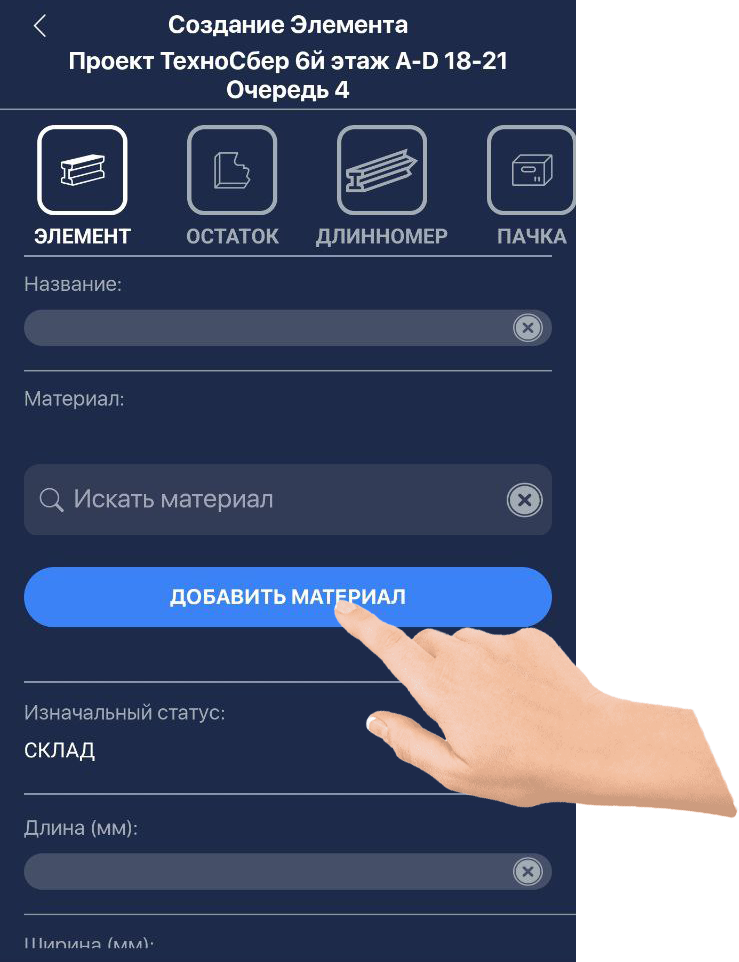
When creating any item, you can add a material.
Materials can be selected from the dropdown list (if a material library is loaded) or created manually by entering their characteristics.
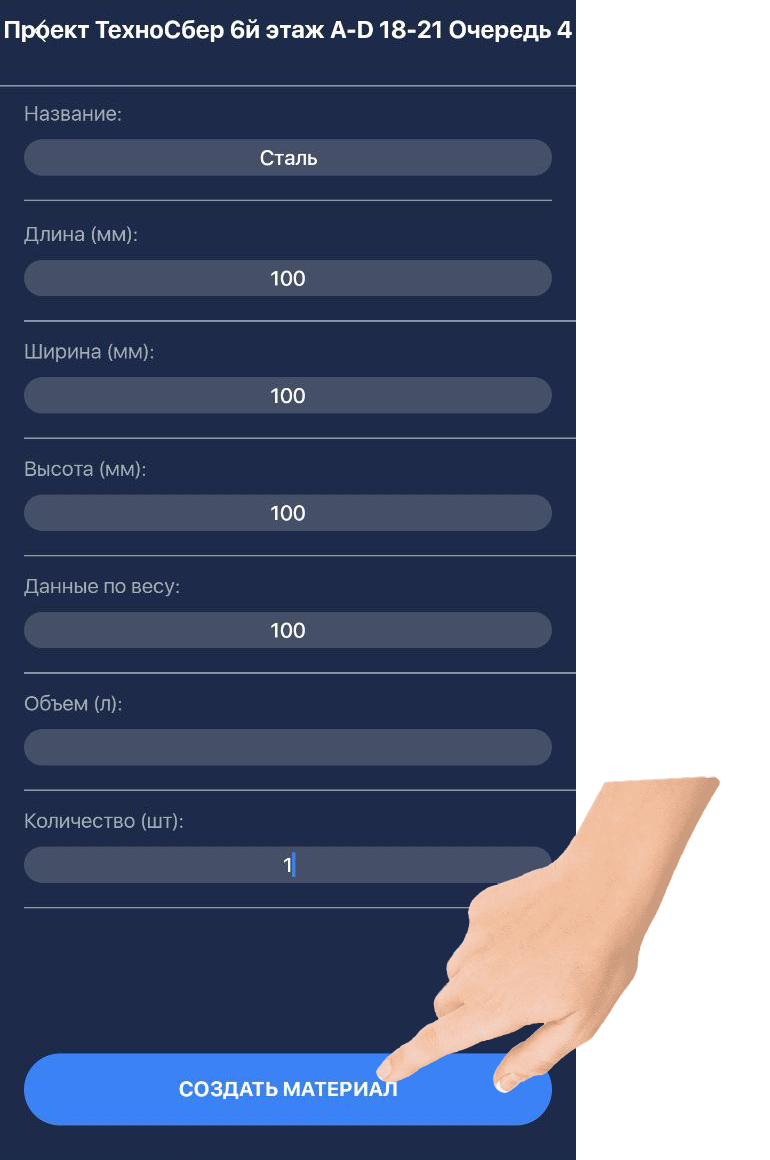
To do this, tap “Add Material” in the item creation window.
In the window that opens, enter the name and required characteristics of the material to assign it to the item, then tap “Create Material.”
The material name is automatically added to the item’s name (you can delete it and enter a custom name if desired).