Create an IFC project
Before starting to create a project, read the model requirements
To create a project for IFC, you should follow these steps:
- Click the Browse button to find and select the required IFC file.
- Enter the project name in the “Project Name” field. This name will also be displayed throughout the binary system.
- Specify the length property name in the “Length parameter name” field.
- Specify the name of the width property in the “Width parameter name” field.
- Specify the name of the height property in the “Height parameter name” field.
- Specify the name of the weight property in the “Weight parameter name” field.
- Specify the name of the material property in the “Material parameter name” field. If you want to use a layer of material, leave this field empty.

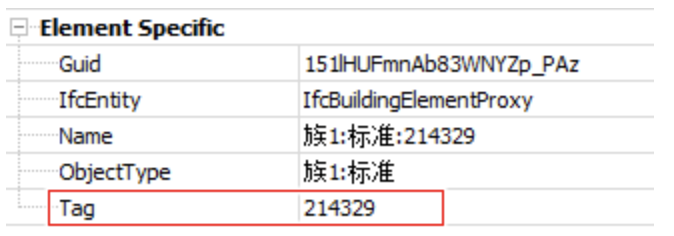
8.Specify the name of the mark position property in the “Name of the mark position parameter” field. This data will be displayed to users on markers. Leave it blank if you want to use the Tag parameter.
- Specify the name of the type property in the “Type parameter name” field. Leave it blank if you want to use the IfcTypeProduct Part Type parameter. Example of Types

- Select the type of filter hierarchy from the “Type of Filter Hierarchy” drop-down list. This is necessary if you want to create multiple projects using a category filter for a complex IFC file. If you are not sure what you want to use and you want all categories to be included in the filter, use IfcElement. Example Hierarchy
- Checking the encoding. We recommend using it only if your source program creates a file in an incorrect encoding!!